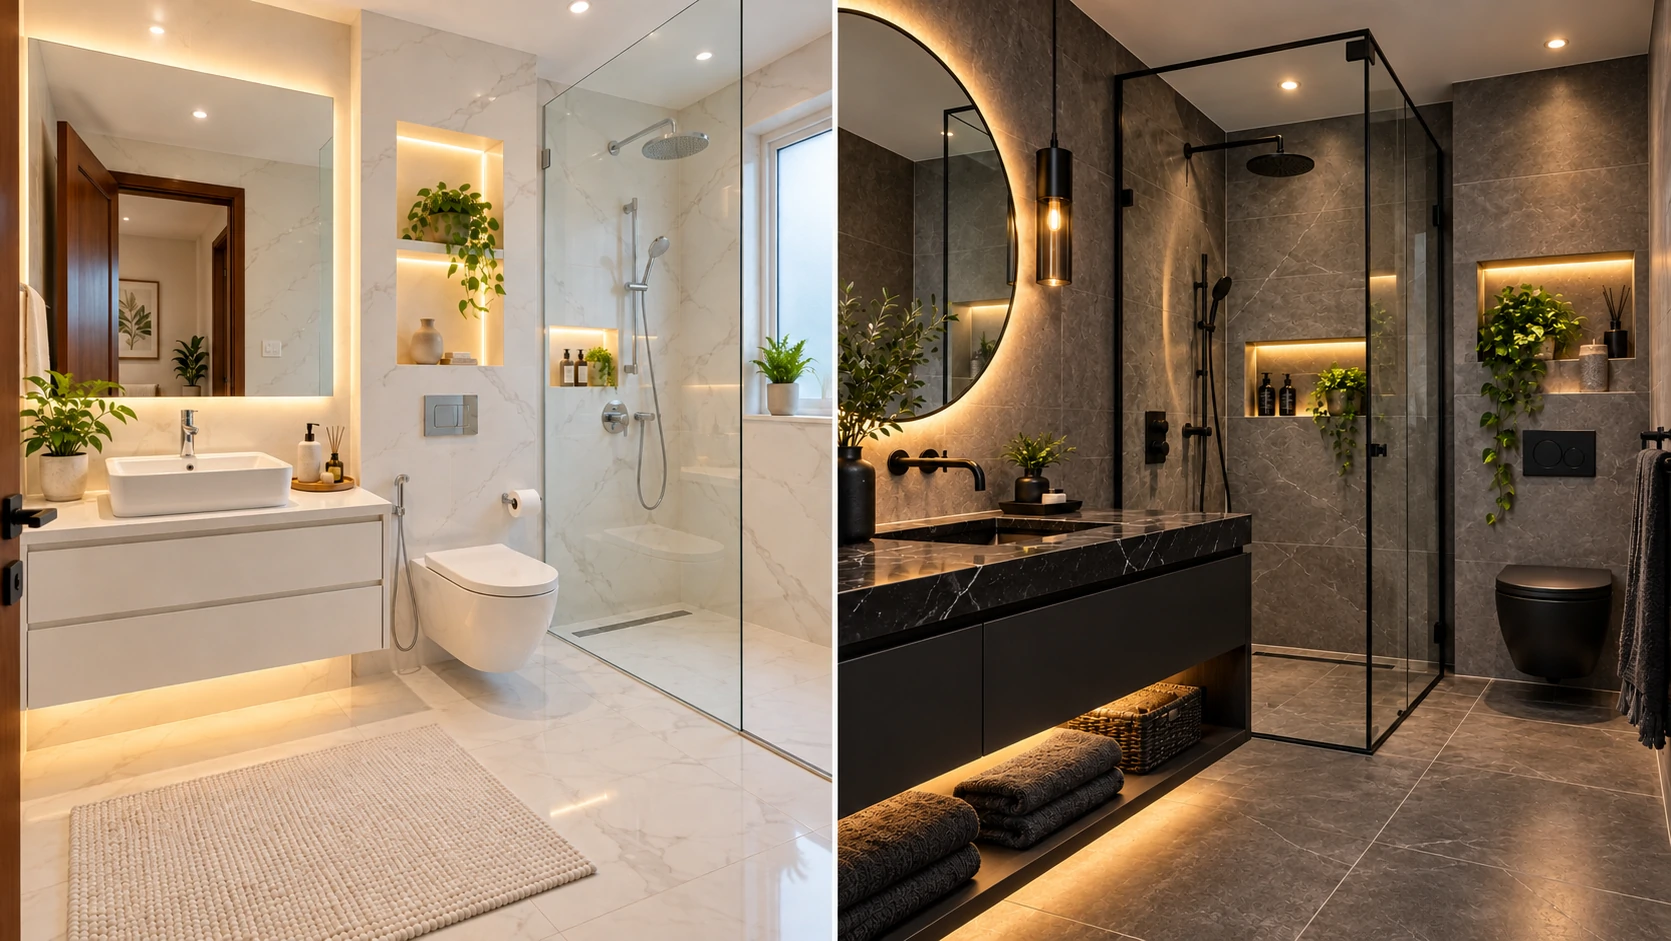
Most bathrooms are lit by one ceiling fixture and a four-bulb bar over the mirror. It looks fine in the listing photos. Then you try to shave at 6:30am in January, or your partner needs to find the toilet at 2am, and the room turns out to be both dim and harsh.
So how many lights does a bathroom actually need?
The honest answer is that the count matters less than what each light is doing and where it sits. Here’s the short version, then the detail.
Quick answer: Most bathrooms need three to six light points arranged in layers: vanity task lighting on both sides of the mirror, one or two ceiling lights for general illumination, and a damp- or wet-rated light over the shower.
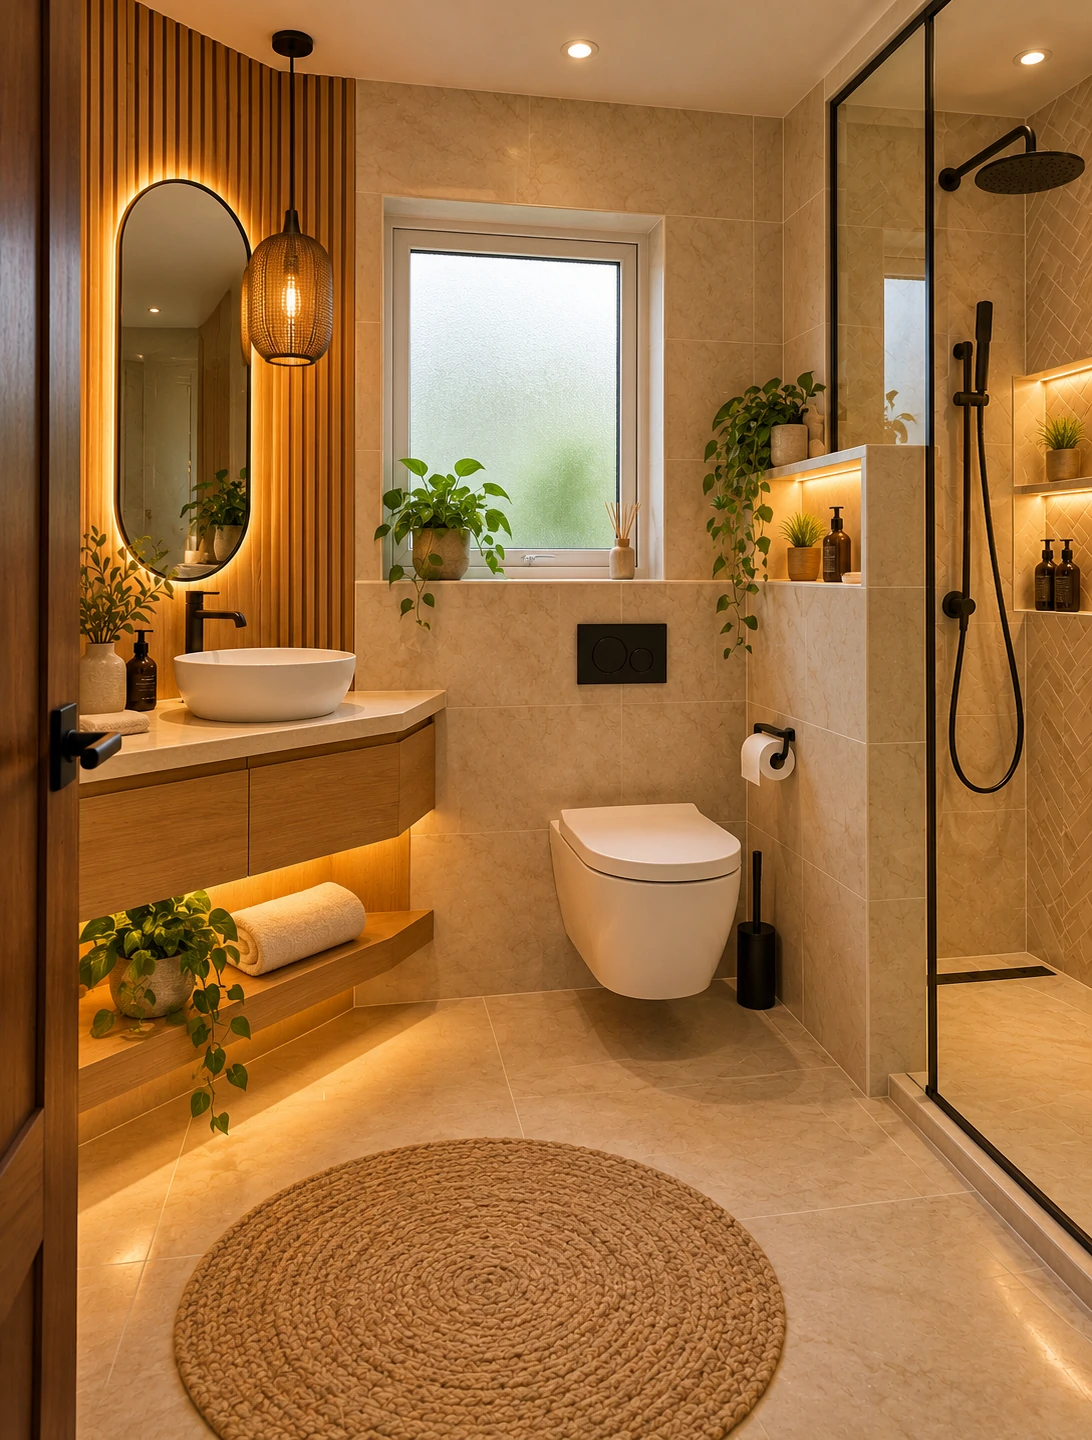
Quick Takeaways
- Count light points and lumens, not bulbs. A four-bulb bar is one fixture that lights your face from one direction only: above.
- Put vanity lights at face height, on both sides of the mirror. Overhead-only light casts shadows under the eyes and chin.
- Plan roughly 70–80 lumens per square foot (about 750–850 per m²) across the room. Dark tile, dark paint and windowless rooms sit at the top of that range.
- Use one color temperature (2700K–3000K suits most homes) and CRI 90+ in every fixture.
- Separate your switches or dimmers for vanity, ceiling, shower and night lighting.
- Check the rating for your country. Fixtures near tubs and showers have rules, and pendants or chandeliers over a tub are usually not allowed.
For a typical 40–60 sq ft (3.7–5.6 m²) bathroom, that adds up to two vanity lights, two or three ceiling lights, and a shower light if the enclosure is dark. That’s about four to six fittings.
Stop Counting Bulbs: Light Points, Lumens and Layers
“How many lights” sounds simple until you’re standing in a lighting showroom holding a three-lamp bar, a pair of sconces and a lighted mirror, wondering which counts as what.
Three terms clear it up:
- Light point: one fixture position. A three-lamp vanity bar is one light point with three bulbs.
- Lumens: how much light is actually produced. This is the number that decides whether a room feels bright, not the number of fixtures.
- Layers: the different jobs the light does.
Most well-lit bathrooms use four layers:
| Layer | Job | Typical source |
|---|---|---|
| Task | Grooming, shaving, makeup | Sconces beside the mirror, front-lit mirror |
| Ambient (general) | Overall visibility, safe movement | Ceiling downlights, flush mount |
| Accent | Mood, highlighting a niche or texture | Niche lights, cove or toe-kick strips |
| Night | Getting to the toilet without waking up | Low, warm motion-sensor light |
Most homeowners don’t realize that two 800-lumen sconces at face height can beat six weak downlights at the mirror. Where the light lands on your face matters more than how many fittings are on the ceiling.
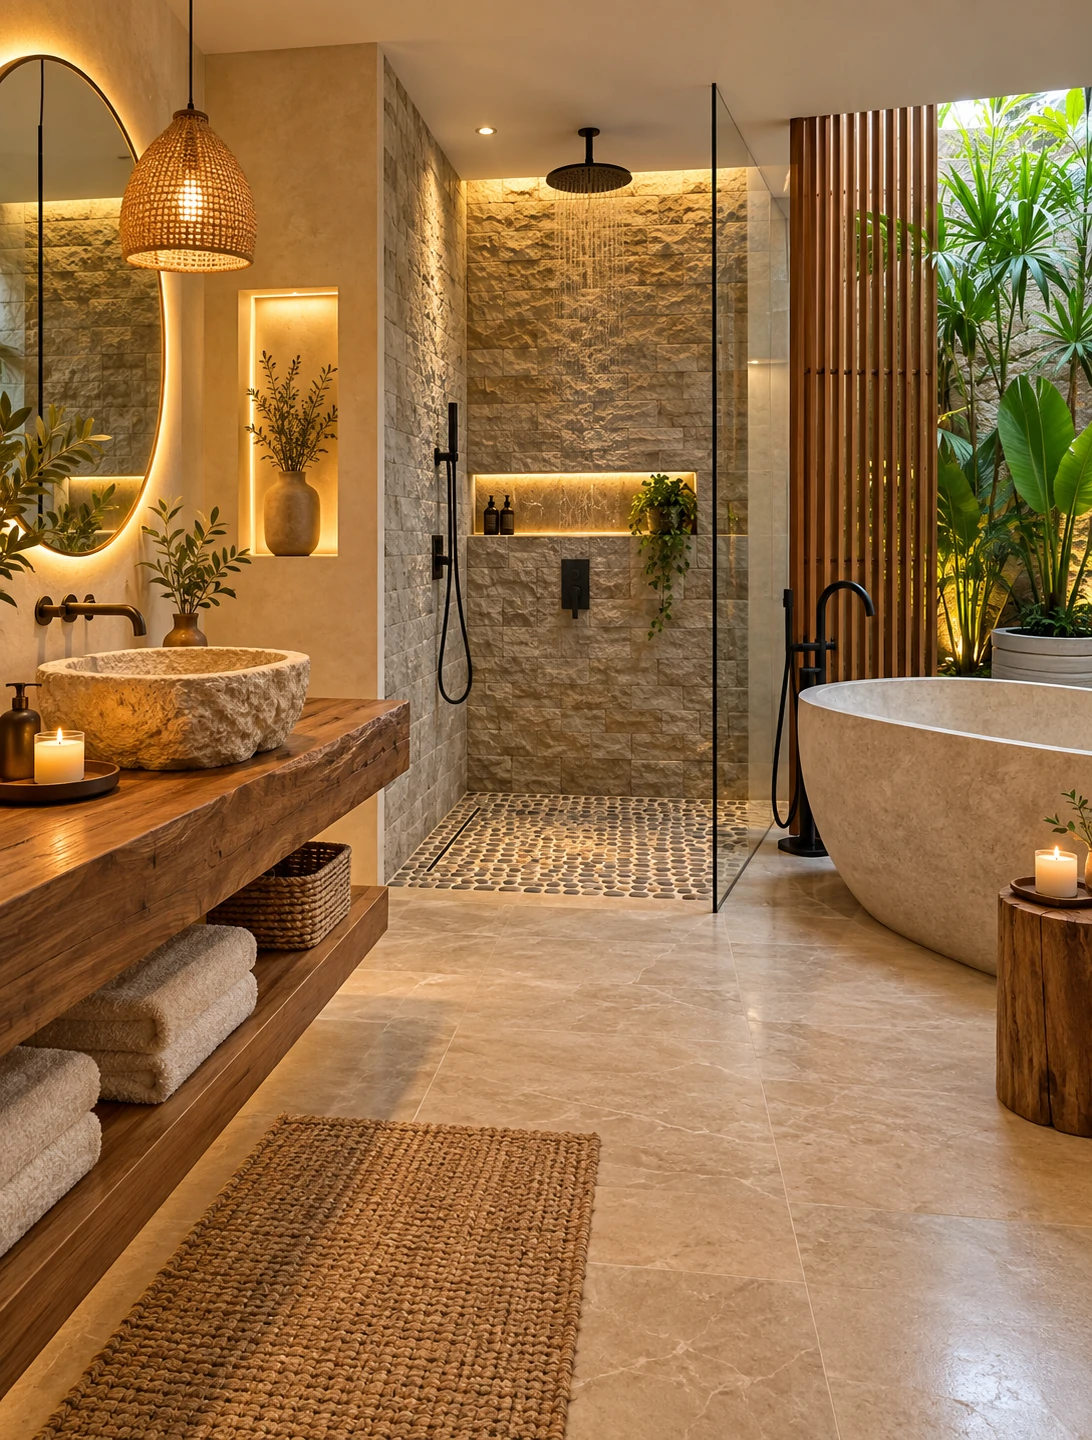
Bathroom Light Count by Size and Layout
This table is a starting point, not a rule. Ceiling height, windows and finishes will move the numbers.
| Bathroom type | Typical size | Minimum that works | Recommended light points |
|---|---|---|---|
| Powder room / half bath | ≤25 sq ft (≤2.3 m²) | 2 | 2–3: two sconces or one bar, plus an optional small ceiling light |
| Small full bath | 25–40 sq ft (2.3–3.7 m²) | 2 | 3–5: two sconces or a bar, 1–2 ceiling lights, shower light if enclosed, night light |
| Standard full bath | 40–60 sq ft (3.7–5.6 m²) | 3 | 4–6: two sconces, 2–3 ceiling lights, shower light, night light |
| Primary / ensuite | 70–120 sq ft (6.5–11 m²) | 5 | 7–12: light per basin, ceiling grid, separate shower and tub lights, toilet compartment light, accent, toe-kick |
| Double vanity | any | 3 sconces or 2 bars | 3–4 sconces (or a bar per mirror) plus a ceiling layer |
| Wet room | 40–70 sq ft | 4 wet-rated | 5–8 wet-rated in the spray zone, damp-rated elsewhere |
Powder rooms and half baths
A powder room can look better with less. Two sconces on a dimmer often beat a ceiling light, because you’re mostly washing hands and glancing in a mirror. Skip recessed cans unless the room is windowless and gloomy.
Small full bathrooms
In a small bathroom, adding ceiling lights is the instinct. Improving the mirror-side lighting usually does more. If you have to choose, put your budget at the vanity first, then add a wet-rated light in an enclosed shower.
Windowless bathrooms
Without daylight, the room depends entirely on your fixtures. Aim for the upper end of the lumen range, choose high-CRI lamps, and think about tunable white so the room doesn’t feel like a cellar on winter mornings.
Double vanities
For two basins with two mirrors, three sconces is a common layout: one between the mirrors and one at each end. If you’d rather use bars, one above each mirror works. Add a ceiling layer either way, or the space between the basins will look dim.
Primary bathrooms
Larger rooms fail differently. They don’t lack light points, they lack control. A 100 sq ft ensuite with six lights on one switch is either glaring or dark. Break it into zones: vanity, ceiling, shower, tub, toilet compartment, and night.
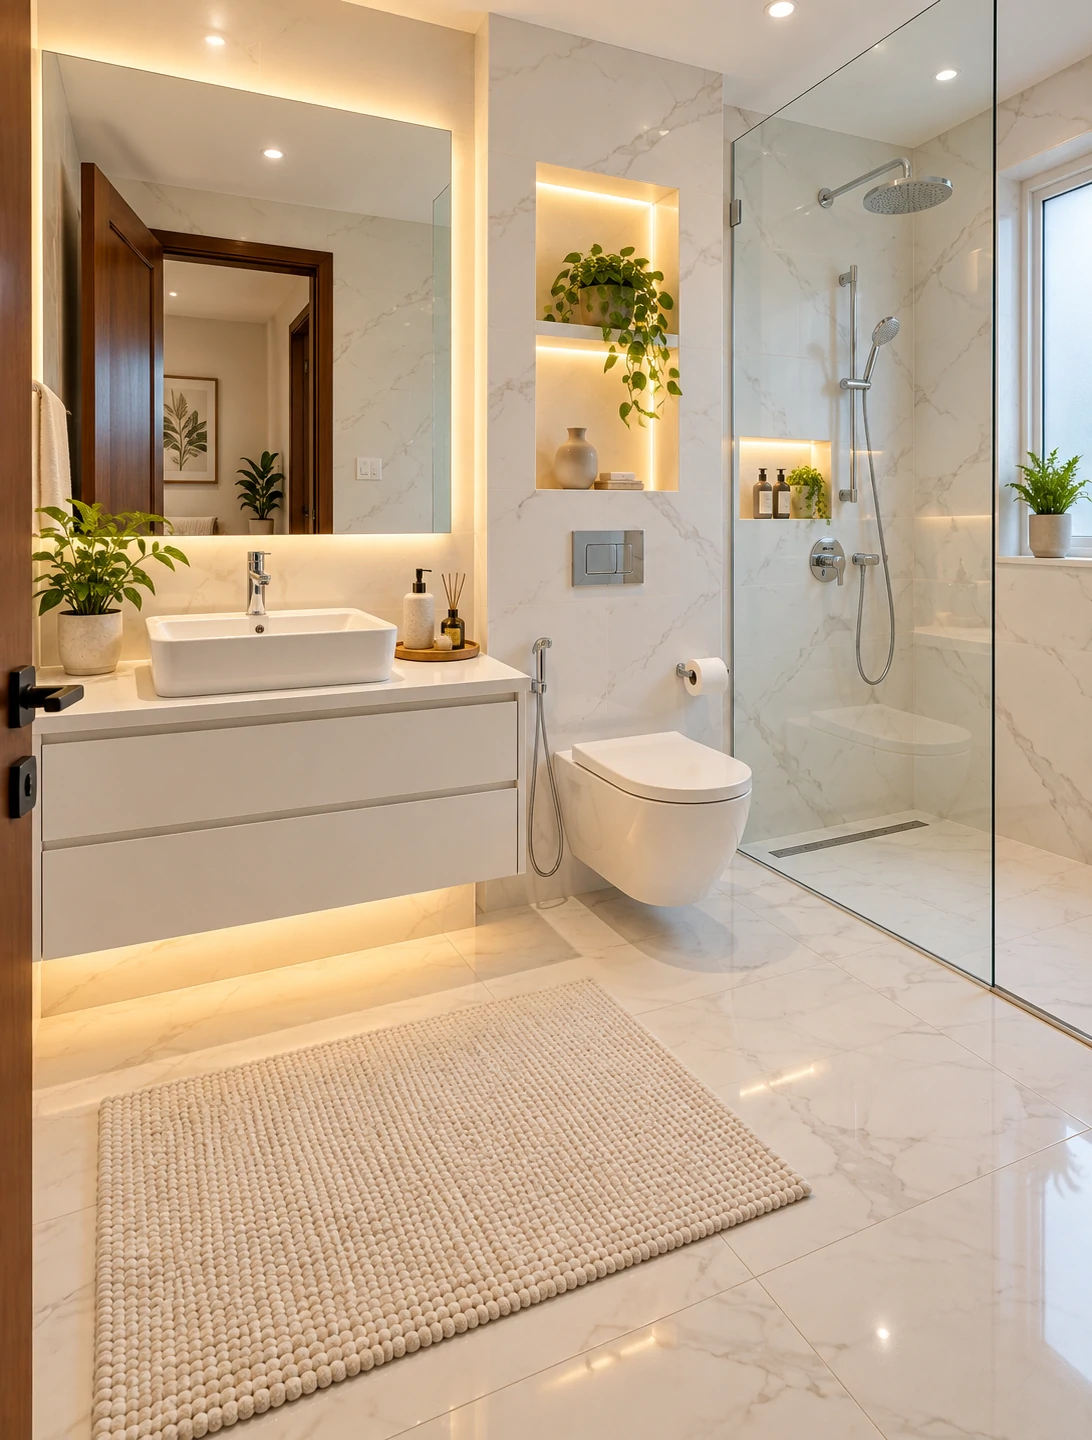
How Bright Should a Bathroom Be? A Five-Minute Lumen Calculation
A commonly used planning benchmark is 70–80 lumens per square foot across the whole room. Treat it as a starting point and adjust.
Worked example: a 5×8 ft bathroom (40 sq ft)
- 40 sq ft × 70–80 = 2,800–3,200 lumens in total.
- Rough split:
| Zone | Approx. lumens |
|---|---|
| Vanity (two sconces or bar) | 1,200–1,600 |
| Ceiling (2 downlights at ~450–650 each) | 900–1,300 |
| Shower light | 300–500 |
| Night light | A few dozen, kept low |
Move toward the higher end if you have dark tile, dark paint, no window, or a mirror that faces away from any light.
On energy use: a typical 800-lumen LED lamp draws roughly 8–10 watts. Even a well-lit bathroom uses little electricity, so lighting it properly isn’t the energy problem most people fear. The bigger drains are usually heated floors, towel warmers and long exhaust fan runs. If you want to trim running costs, a vacancy sensor or a fan-timer switch helps more than under-lighting the room.
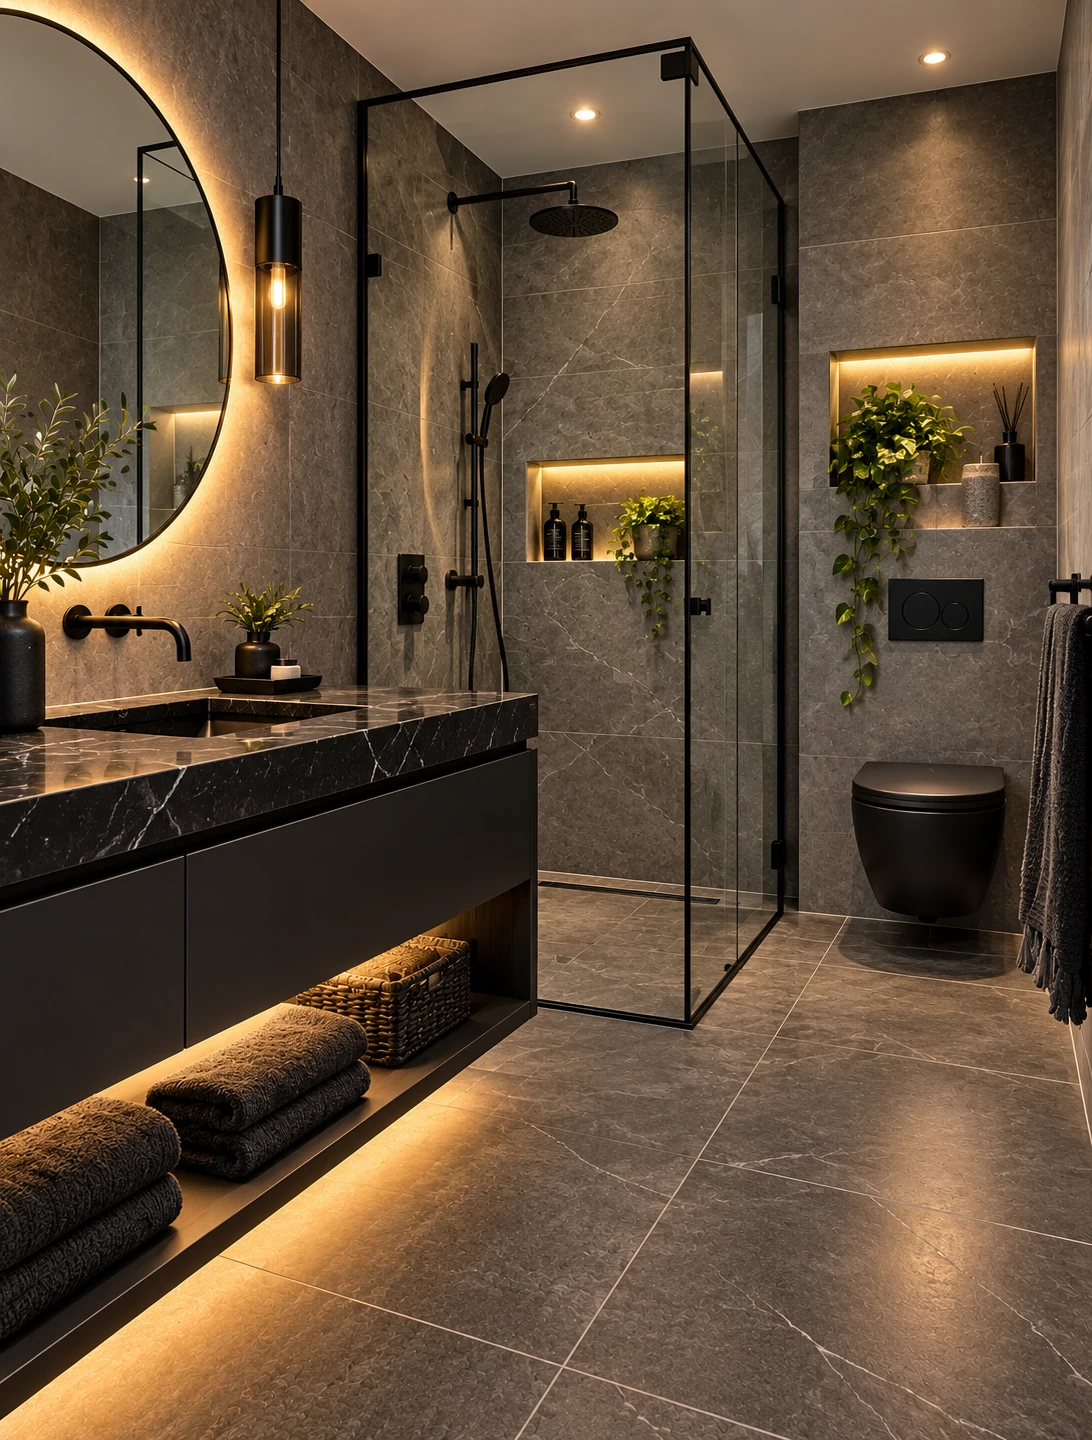
Vanity Lighting: The Layer That Decides Whether the Room Works
If you only get one thing right, get this right. Vanity lighting is where people judge the room, and where they notice mistakes daily.
Why side lighting wins
Light from above the face pushes shadows under your eyes and chin. Light from both sides at face height fills them in. That’s the reason designers keep recommending sconces beside the mirror, and it’s not just a style preference.
Sconces vs vanity bar vs lighted mirror
| Option | Best for | Trade-offs |
|---|---|---|
| Two sconces beside the mirror | Most bathrooms; best face lighting | Needs wall space and wiring on both sides |
| Bar above the mirror | Tight walls, replacing an old fixture | Overhead-only light unless the mirror is wide and the bar is diffused |
| Front-lit LED mirror | Modern, minimalist rooms | Integrated LEDs are often not user-replaceable; check CRI and warranty |
| Backlit (halo) mirror | Ambient glow, mood | Doesn’t replace task lighting |
Many buyers assume an “LED mirror” solves the vanity. A halo mirror mainly adds glow around the frame. For grooming you still want light on your face.
Height and spacing
These are common starting points, not universal rules:
- Height: center of the fixture at roughly face height, often 60–66 in (152–168 cm) from the floor.
- Spacing: about 30–40 in (75–100 cm) apart, adjusted to the mirror width and who’s tallest in the house.
- Bars above a mirror: keep the bar no wider than the mirror, and diffused rather than bare-bulb.
Pros and cons of the sconce approach
Pros
- The most flattering, even light on the face
- Works with almost any style
- Easy to swap decorative fixtures later
Cons
- Needs wiring on both sides of the mirror
- Retrofitting into a finished wall can mean patching drywall or tile
.webp "Lighting Design Ideas 05")
Ceiling, Shower and Night Lighting
Recessed lights: where they go
For general lighting, a common starting point is spacing recessed lights roughly half the ceiling height apart. On an 8 ft ceiling that’s about 4 ft.
The bigger mistake is location. Downlights directly above the vanity user’s head cast shadows on the face. Place them in front of the vanity zone and let the sconces do the face lighting.
If your ceiling is under about 8 ft (2.4 m), use slim wafer downlights or a low-profile flush mount. Avoid anything that hangs.
The recessed-light problem nobody mentions
Recessed housings that aren’t sealed can leak warm, humid air into the ceiling cavity or attic. Over time, that can mean condensation and mold. Look for airtight housings, and where insulation touches the fixture, check the IC (insulation contact) rating. Then make sure your exhaust fan really vents outdoors.
Shower lighting
If your shower is enclosed with glass or a curtain and the general lights don’t reach it, add a dedicated light. Anything inside or directly above the spray zone needs the correct wet-location or IP rating for your country. More on that in the safety section below.
Night lighting
Most people don’t plan for this until after the renovation, and then regret it.
A low, warm, motion-activated light on the toilet route (a toe-kick strip, or a light under a floating vanity) keeps you from turning on full-brightness light at 2am. It’s also a genuine safety feature for children and older adults on hard, wet floors.
If you already use smart switches or Matter-compatible devices at home, a motion-triggered night scene can be automated without a separate gadget.
Fan-and-light combos
Older bathrooms often rely on an exhaust fan with a built-in light as the “general” light. It’s usually dim and low-CRI. If you’re upgrading the fan, consider separating the fan and the lighting so you can choose each properly.
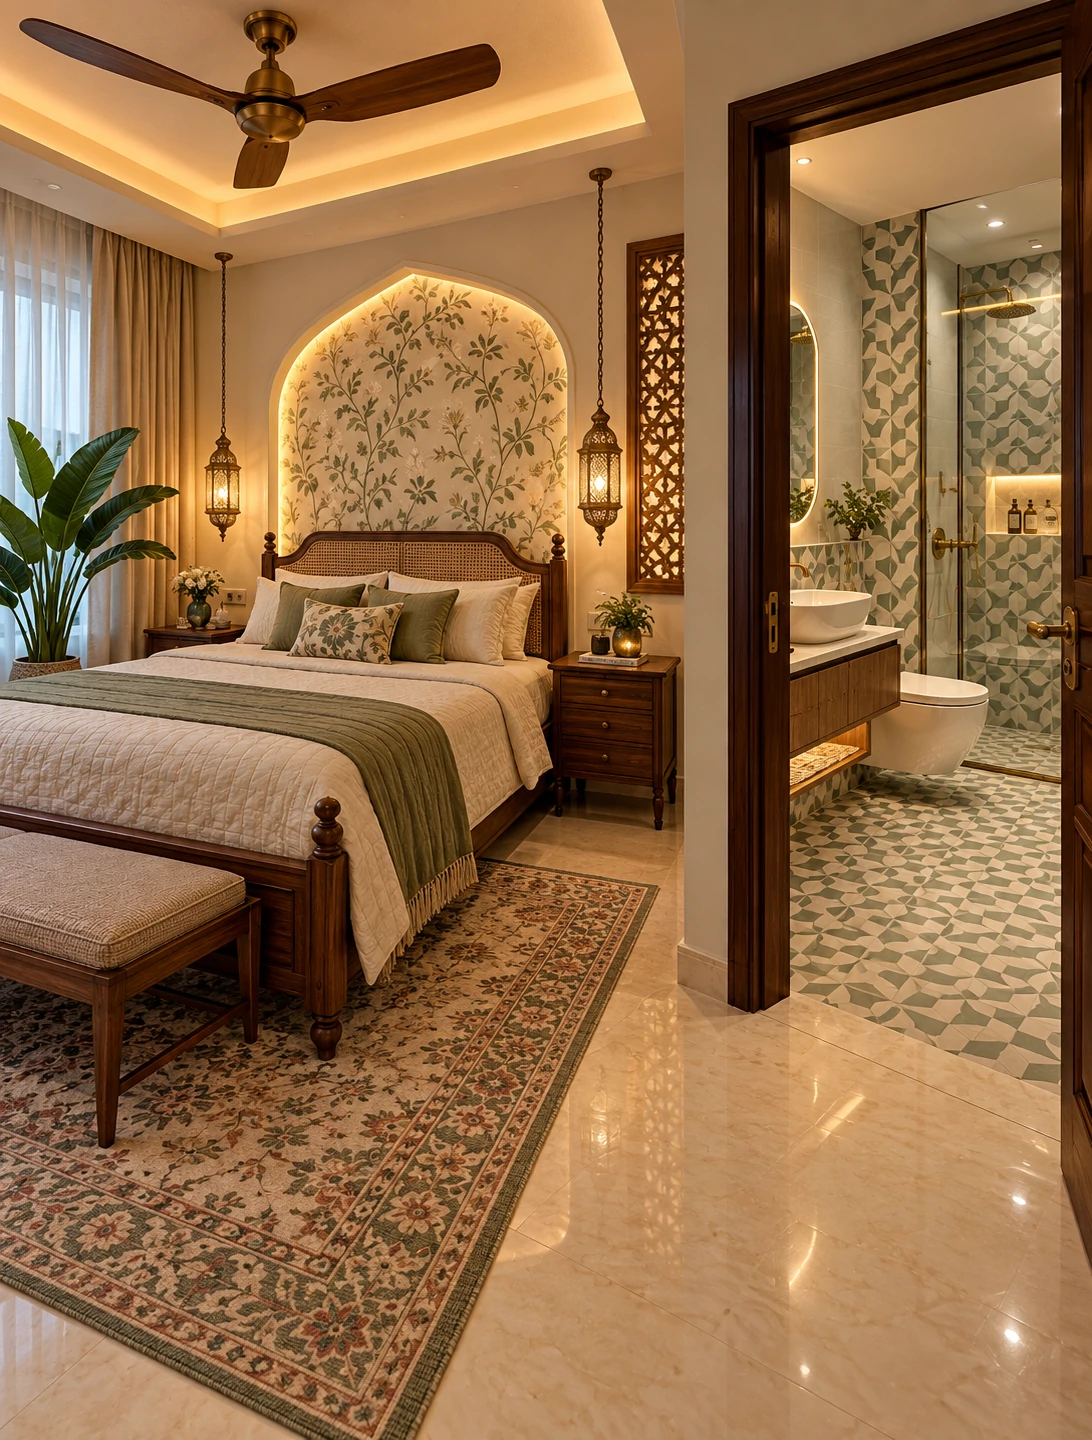
Color Temperature, CRI and Why Your Tile Looks Different at Night
Kelvin
- 2700K–3000K: warm, flattering, spa-like. Suits most homes.
- 3500K–4000K: crisper, more neutral.
- 5000K and up: often reads clinical in a home bathroom, even if it’s marketed as “daylight.”
The most important rule: use the same color temperature in every fixture. A 2700K downlight next to a 4000K mirror makes the room look patchy.
CRI
CRI (color rendering index) describes how accurately colors appear under a light. For a bathroom, aim for CRI 90 or higher. It changes how skin tones, makeup and tile look. Many budget lighted mirrors don’t publish a CRI, and that’s worth noticing.
How light changes your finishes
- Gloss reflects the light source. Polished dark floor tile, glossy vanities and polished counters can mirror your downlights as hot spots. Honed, matte or satin finishes diffuse them.
- Dark surfaces absorb light. The same fixtures feel dimmer over dark paint and tile. Paint with a high LRV (light reflectance value, around 70 or higher) bounces more light back.
- Sidelight exposes flaws. Sconces and wall-washing rake across surfaces, revealing uneven plaster, tile lippage and wavy handmade tile that flat overhead light hides.
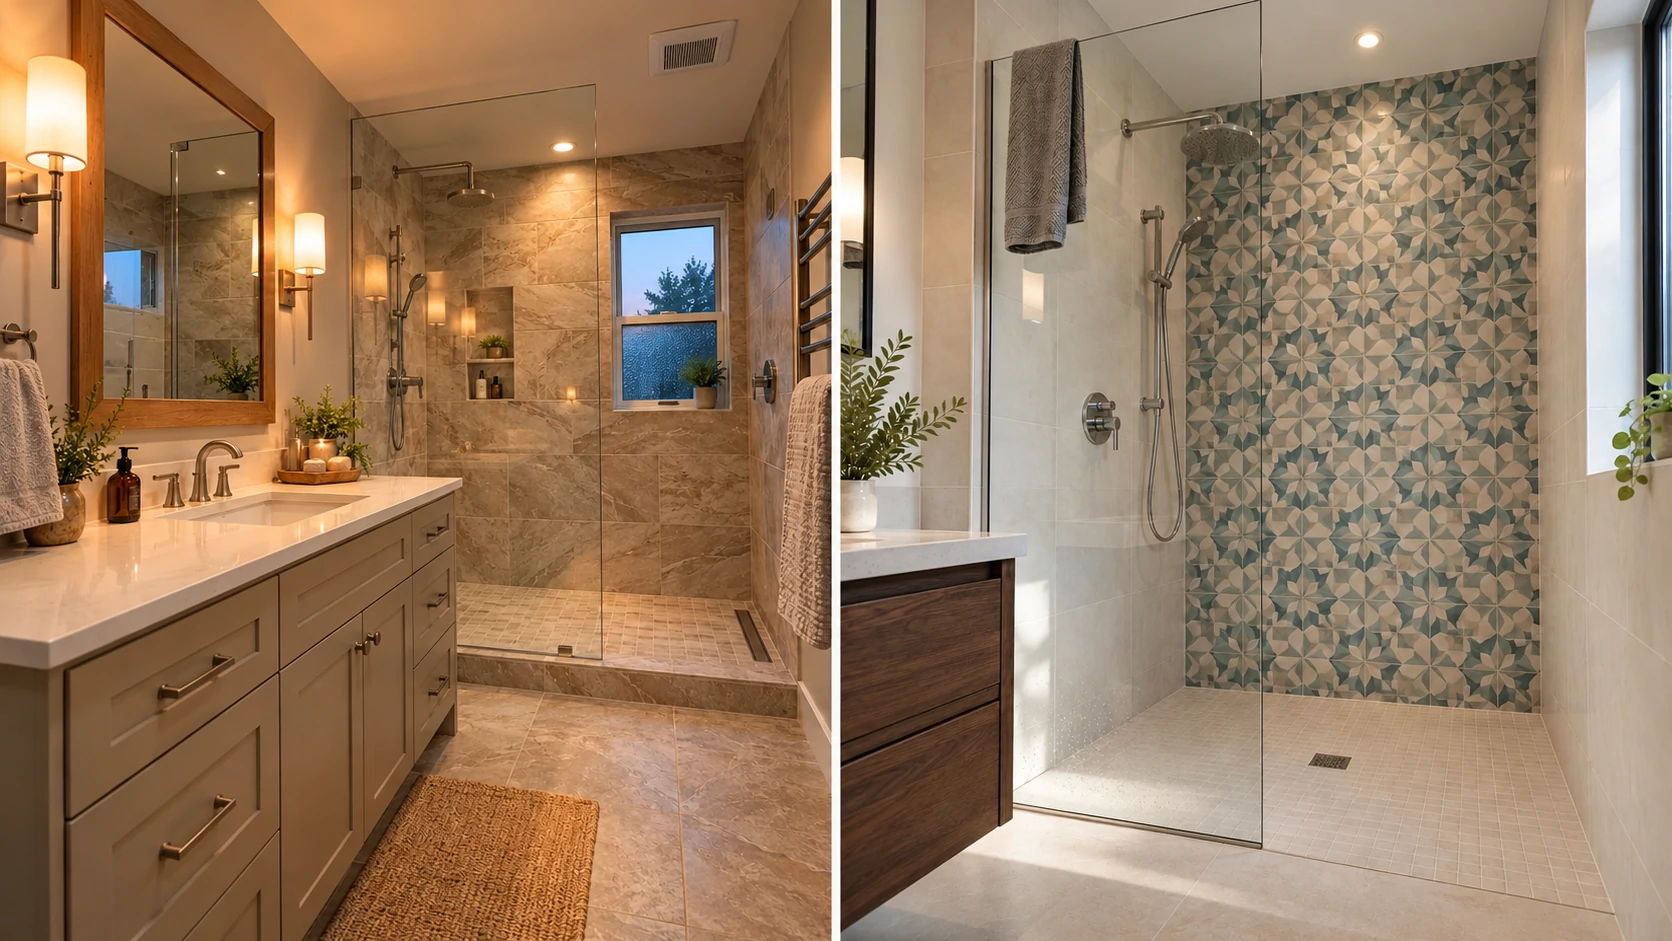
- Kelvin shifts undertones. A greige or gray tile with white grout can look yellow at 2700K and blue-gray at 4000K. Test samples under the actual bulbs, at the times of day you use the room.
Natural light matters too. A tile that looks perfect at noon can look flat at 6pm, and both are worth checking before you order.
.webp "Lighting Design Ideas 07")
Design element decision table
For a layered, warm-neutral, transitional-modern bathroom.
| Element | Best choice | Common mistake | Upkeep reality |
|---|---|---|---|
| Floor tile | Mid-tone, honed or matte porcelain with a suitable wet slip rating (in the US, look for DCOF 0.42+) | Polished dark tile that mirrors downlights | Matte texture can hold soap film; use a soft brush and pH-neutral cleaner |
| Wall tile | Light, satin or soft-gloss, large format | Uneven glossy handmade tile under sconces | Fewer grout lines means easier cleaning |
| Grout | Within one or two shades of the tile | Bright white grout that yellows under warm light | Light grout shows mildew; epoxy or stain-resistant grout helps |
| Vanity finish | Mid-tone wood veneer or matte lacquer | High-gloss dark vanity that reflects sconces | Gloss shows fingerprints and water spots |
| Fixture finish | Brushed nickel or PVD-coated brass | Mixing four finishes; matte black in hard water | Matte black spots as readily as chrome; descale as needed |
| Mirror | Framed mirror with side sconces, or front-lit LED with published CRI | Relying on a halo mirror alone | Check anti-fog and warranty |
| Lighting | Three layers, separate control, 2700K–3000K, CRI 90+ | One overhead fixture or single bar | Drivers and dimmers usually fail before LEDs do |
| Countertop | Honed quartz or quartzite | Polished dark granite; marble that etches | Marble etches and stains; quartz is easier |
| Paint | Warm white, matte or eggshell, mold-resistant | Dark paint with no extra lumens | Repaint every few years in steamy rooms |
.webp "Lighting Design Ideas 08")
Bathroom Lighting Design Ideas by Style
Lighting choices often define a bathroom’s style more than the tile does. Here’s how five popular directions compare.
| Style | Lighting approach | Cost tier | Upkeep | Longevity |
|---|---|---|---|---|
| Modern minimalist | Slim or trimless recessed, linear LED, front-lit mirror | $$–$$$ | Low–medium; integrated LEDs rarely user-replaceable | High if well made |
| Transitional / classic | Paired shaded or opal-glass sconces, framed mirror | $$ | Low–medium | High |
| Japandi / spa | Warm 2700K, soft diffusers, dimmers, toe-kick glow | $$–$$$ | Medium; diffusers and wood near moisture need care | Medium–high |
| Farmhouse / industrial | Gooseneck or cage sconces, exposed-bulb bars | $–$$ | Medium; matte black spots, bulbs collect dust | Lower; looks date faster |
| Moody powder room | Dark paint, low-output sconces, dimmers | $–$$ | Medium; dark surfaces show splashes | Medium |
Five scenes worth picturing
A small windowless bath, done well. Two slim sconces flank a plain mirror. A single flush ceiling light sits in front of the vanity, and a wet-rated downlight covers the shower. Everything is 3000K, CRI 90+, on two dimmers. It’s not dramatic, but it works at any hour.
A transitional double vanity. Three opal-glass sconces sit between and beside two framed mirrors, with recessed lights in front of the vanity. The finishes match the faucets. It reads as timeless because nothing is trying too hard.
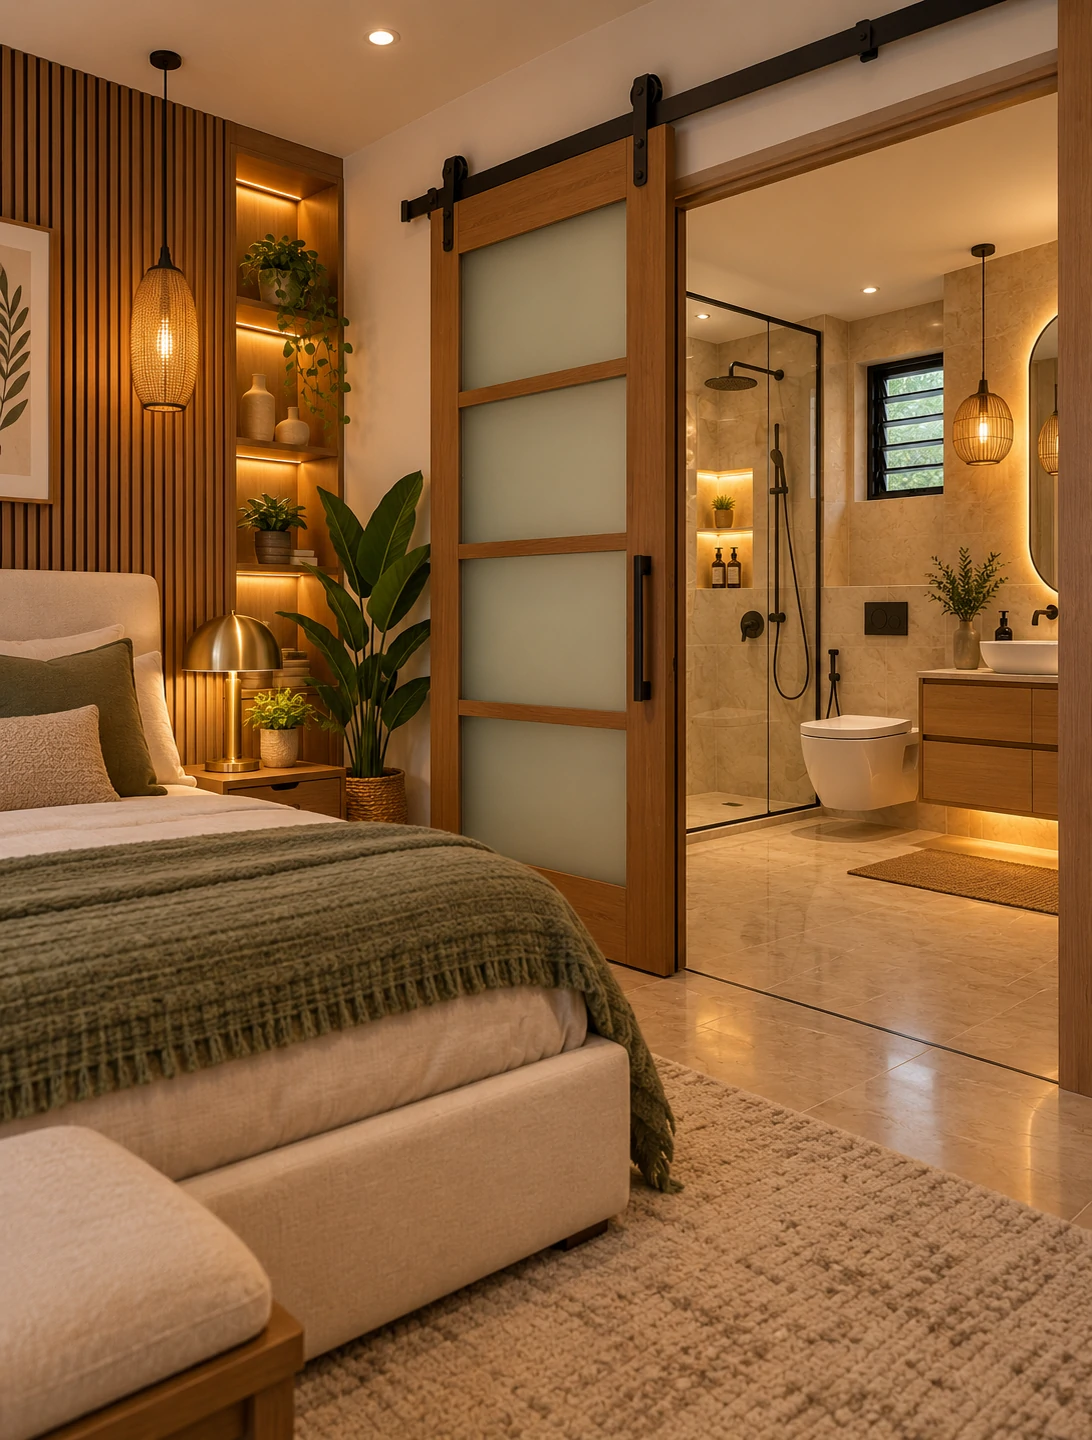
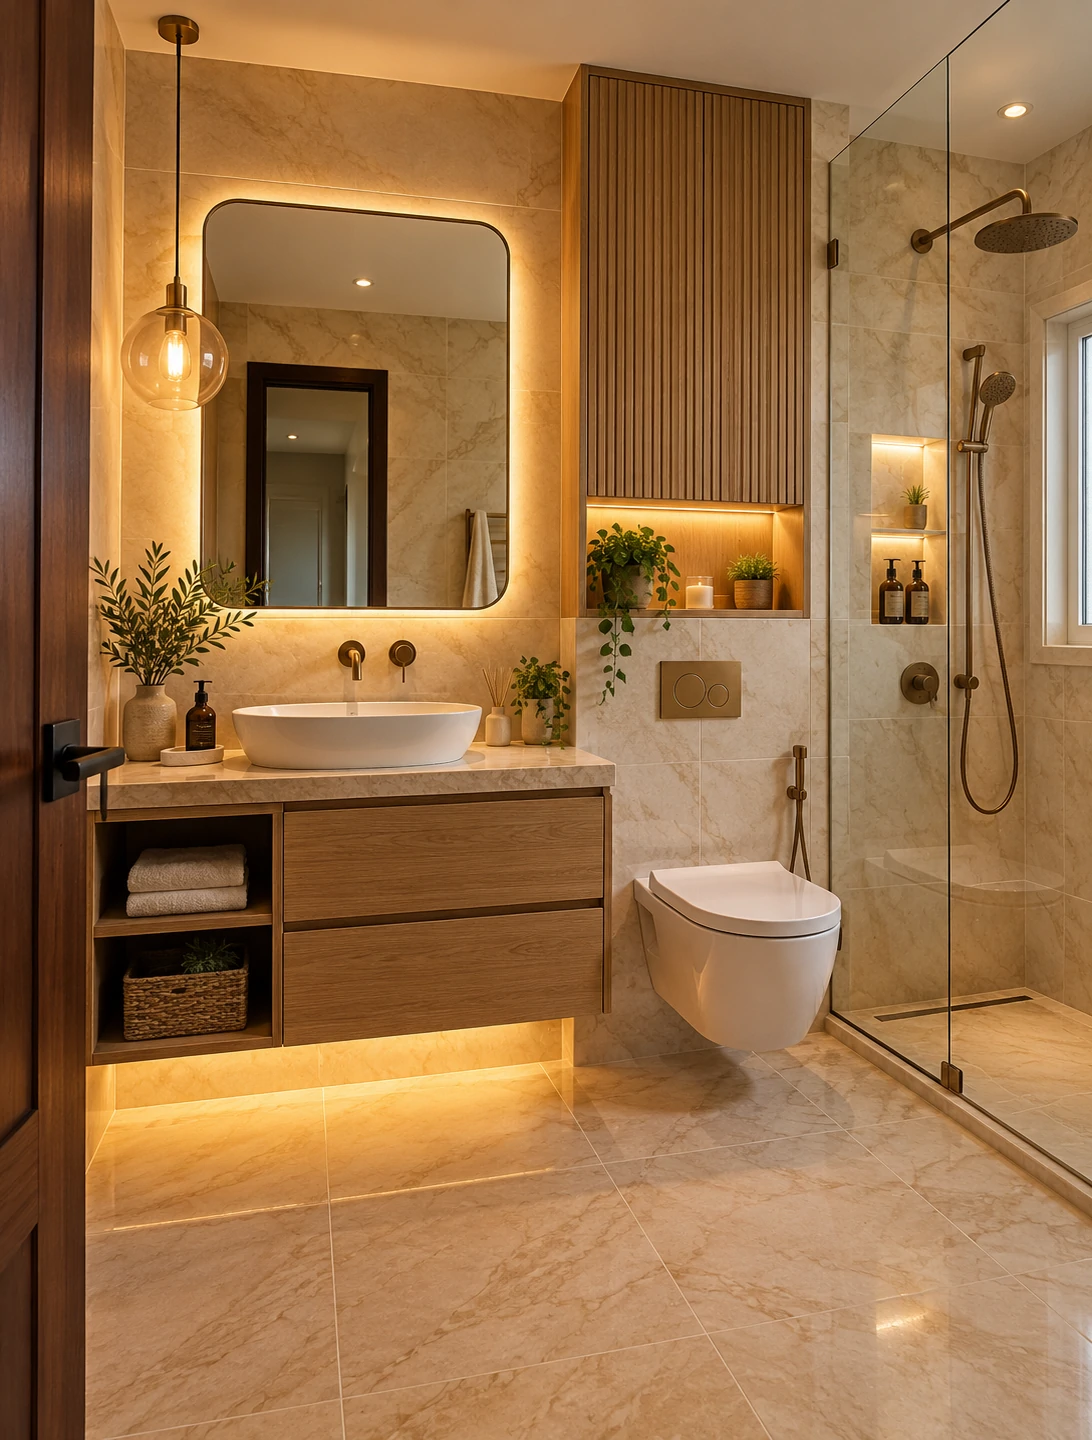
A Japandi spa bath. Warm indirect light washes a textured wall, and a low glow runs under a floating vanity. A soft-diffused ceiling fixture sits on a dimmer. The success here depends on glare control, and one bare bulb ruins it.
A farmhouse bath. Black gooseneck sconces above a shiplap-style wall. It photographs beautifully. Living with it means dusting exposed bulbs, wiping hard-water spots off matte black, and making sure open sockets aren’t near the spray.
A moody powder room. Black walls and two low-output sconces. Guests love it. But dark paint absorbs light, so it needs enough lumens and dimmer control to stay usable.
Photos flatter. Real bathrooms get judged at dawn, at dusk and at midnight. Choose the lighting for the version of the room you’ll live in, not the one you saved on Pinterest.
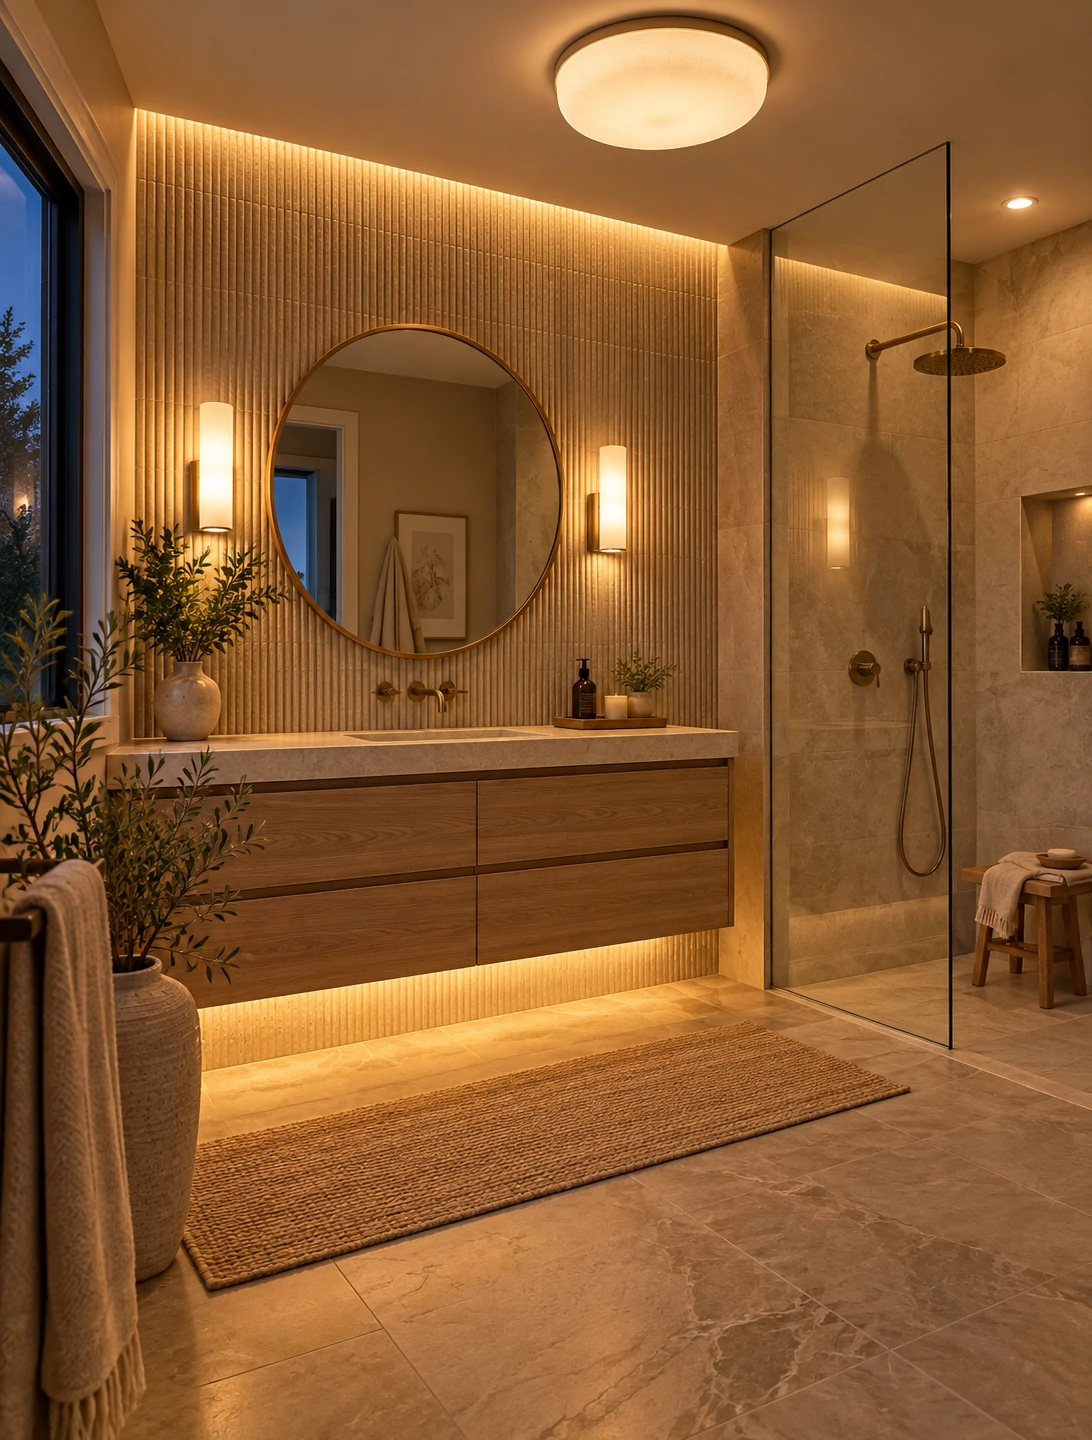
Lighting Design Ideas 09
Plan Your Layout in Six Steps
- Note the conditions. Room size, ceiling height, windows, surface colors, who uses the room and when.
- Set a lumen target. Multiply square footage by 70–80, then adjust for dark finishes or no window.
- Design the vanity first. Side lighting at face height, or a front-lit mirror, sized to the mirror and number of basins.
- Add ceiling and shower layers. Place recessed lights in front of the face zone. Add a wet-rated shower light if needed.
- Zone the circuits. Separate switches or dimmers for vanity, ceiling, shower and night.
- Check ratings and code, then get quotes. Confirm zones and ratings for your country, and have an electrician review the plan.
Safety and Code: Zones, Ratings and Regional Differences
Bathrooms combine water and electricity, so rules exist for good reason. They also vary by country, and that’s where online advice tends to go wrong.
⚠️ A chandelier over the tub is a code problem, not just a style choice. In the US, NEC 410.10(D) restricts hanging fixtures within about 3 ft horizontally and 8 ft vertically of the tub rim or shower threshold, and other countries apply comparable zone rules. Moody chandelier photos are often taken in large bathrooms where the tub sits away from the fixture. Confirm clearances with your local code and an electrician before ordering.⚠️ “Damp-rated” does not mean “wet-rated.” A damp-rated sconce is fine on a dry wall away from spray, but not inside a shower enclosure. Anything in or above the spray zone needs the correct wet-location or IP rating. If you’re unsure, don’t guess.
What to check by country
| Country | Terms to know | What to check |
|---|---|---|
| United States | Damp vs wet location, UL/ETL, GFCI, NEC | Correct location rating; tub/shower clearances; GFCI protection |
| Canada | CSA/cUL-certified, Canadian Electrical Code, GFCI | Certified fixtures; permit rules vary by province |
| United Kingdom | Zones 0–2, IP ratings, BS 7671, RCD | At least IP44 in zones 1 and 2; zone 0 needs a much higher rating on a low-voltage supply; UKCA/CE marking |
| Australia | Zones, IP ratings, AS/NZS 3000, RCM, safety switch | Correct zone ratings; RCM-marked fittings; licensed electrician |
One more trap: if you’re buying from a US retailer while living in the UK or Australia, remember those fixtures are usually made for 120V. UK and Australian supplies are 230V, so many US fixtures won’t work and shouldn’t be installed.
Always switch off the breaker before touching any fixture, and confirm it’s dead with a tester. Rules change, so verify with your local authority.
.webp)
Lighting Design Ideas 10
Bathroom Lighting Mistakes People Regret
- Relying on one overhead light or one bar. It shadows your eyes and chin. Add side lighting at face height, or choose a front-lit mirror.
- Sconces too high, too low or too far apart. Aim for roughly face height and about 30–40 in apart, adjusted to the mirror.
- Buying for looks before checking lumens. Many decorative sconces are dim. Check output per lamp and per fixture.
- Mixing color temperatures. Pick one Kelvin for the whole room.
- Putting a chandelier or pendant over the tub. It looked great online. Most codes restrict it.
- No dimmers, no separate switching. One switch means a full-brightness blast at 3am.
- Unsealed or wrongly rated recessed lights. They can leak humid air into the ceiling or create a fire-safety issue.
- Ignoring gloss reflections. Polished floors, gloss vanities and polished counters throw hot spots.
- Integrated-LED fixtures with no CRI or serviceability info. If the driver fails after the warranty, the whole unit goes.
- Downlights directly over the vanity user’s head. They shadow the face. Place them in front instead.
What Bathroom Lighting Costs: Three Budget Tiers
These are planning ranges in USD for a typical 40–60 sq ft bathroom, based on US pricing. Convert at current rates, and expect electrician costs to vary by region. The budget tier assumes existing wiring and boxes.
| Cost category | Budget ($) | Mid ($$) | Premium ($$$) |
|---|---|---|---|
| Vanity lighting | $60–$150 | $150–$450 | $450–$1,300+ |
| Ceiling lights (2–4) | $40–$120 | $120–$300 | $300–$800 |
| Shower light (wet-rated) | $15–$40 | $40–$120 | $120–$300 |
| Mirror | $100–$250 | $250–$700 | $700–$2,000+ |
| Dimmers / controls | $15–$40 | $40–$150 | $150–$500 |
| Night light / toe-kick strip | $15–$40 | $40–$120 | $120–$350 |
| Electrician labor | $300–$700 | $700–$1,800 | $1,800–$4,000+ |
| Patching and painting | $0–$150 | $150–$500 | $500–$1,200 |
| Estimated total (rounded) | $550–$1,500 | $1,500–$4,100 | $4,100–$10,500 |
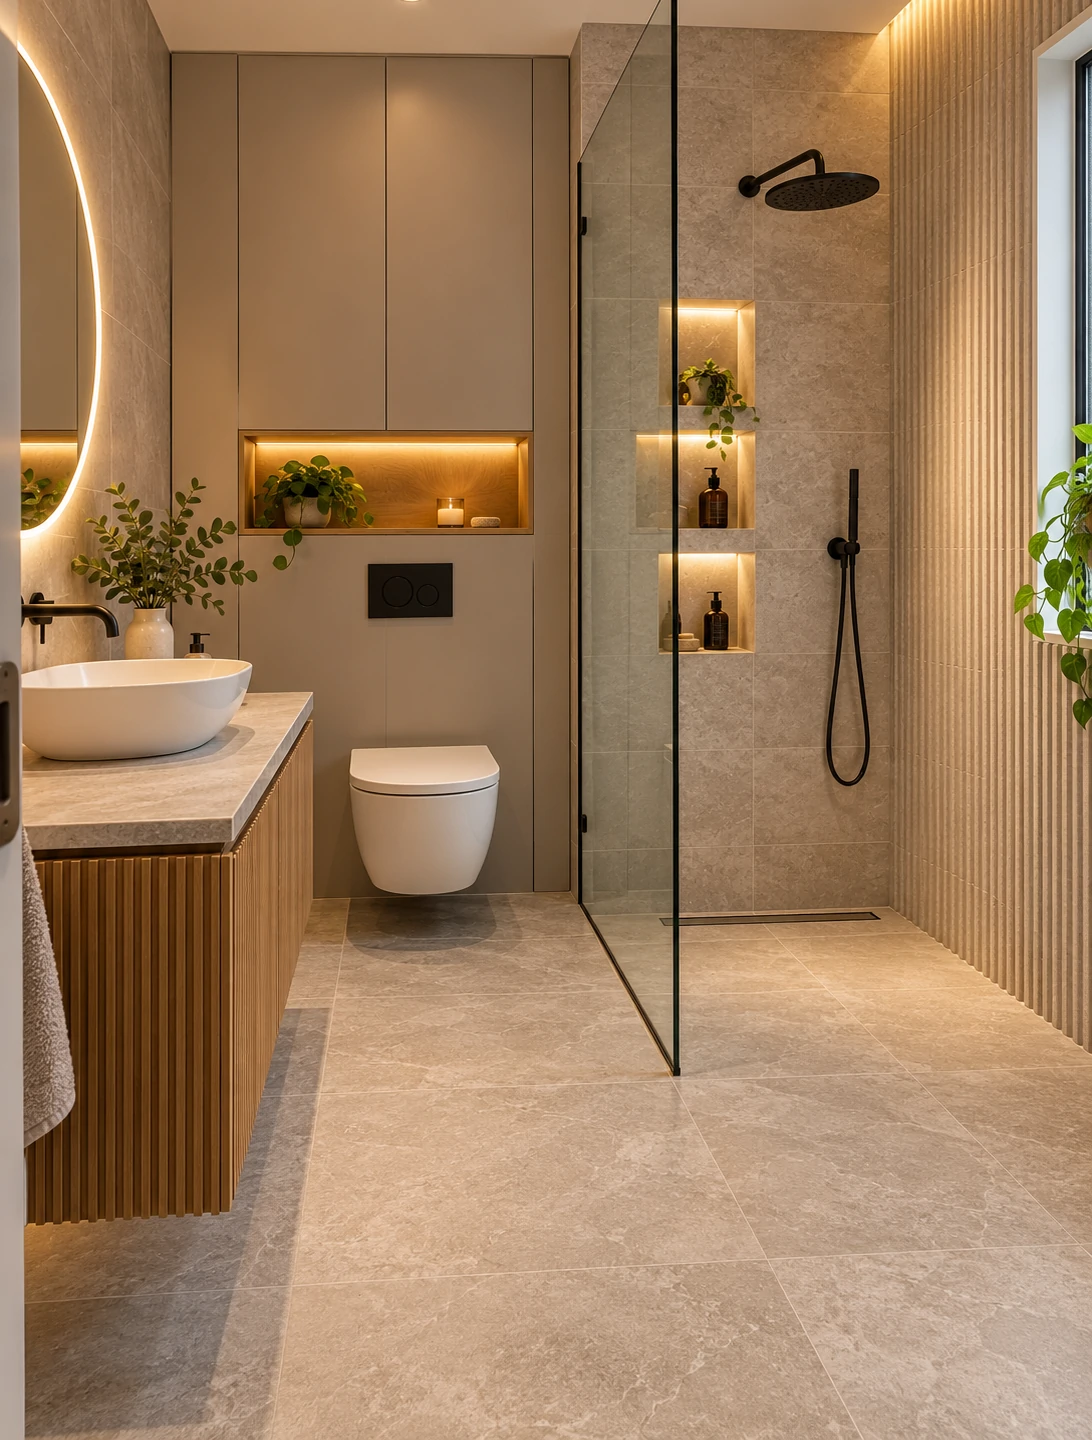
Lighting Design Ideas 11
Where the money is worth spending
- Worth it: vanity lighting, CRI 90+ lamps, and separate dimmers. You use these every day.
- Often not worth it: an expensive decorative ceiling fixture nobody looks at, or a designer bar with weak output.
- Easy to swap later: decorative fixtures. Bad wiring layout is the expensive thing to fix afterward.
The costs people don’t expect
- Patching and repainting. Adding recessed lights or moving sconces can mean opening drywall or, worse, cutting into tile.
- Wiring for controls. Many smart dimmers need a neutral wire at the switch box. Older homes, and many UK lighting circuits, don’t have one.
- Multi-gang boxes. Adding several dimmers may require a larger switch box.
DIY or Electrician? What You Can (and Can’t) Do
| Task | Typical verdict |
|---|---|
| Swap bulbs for high-CRI LEDs | DIY-friendly |
| Like-for-like fixture swap | Often DIY, but check local rules |
| Add a new recessed light | Electrician |
| New circuit or wall opening | Electrician |
| Any fixture in or above the wet zone | Electrician |
| Dimmer or smart switch | Often DIY in the US and Canada; rules vary elsewhere |
Rules differ by country, so check locally. In Australia, fixed wiring work generally needs a licensed electrician, and in most states that includes replacing a fitting. In the UK, some like-for-like work is allowed, but bathroom zones, BS 7671 and notification rules still apply, and new circuits should go to a registered electrician. In Canada, permit rules vary by province. In the US, local codes apply and some jurisdictions require permits for new circuits.
Lighting Design Ideas 12
When to call an electrician
- You’re adding new light points or moving wiring
- Anything sits in or above the shower or tub zone
- Recessed lights are going into an insulated ceiling
- A breaker trips, a GFCI or RCD won’t reset, or wires look damaged
- You’re not sure about zones
When a designer earns their fee
A designer or lighting specialist helps with large primary bathrooms, custom coves or niches, or when you’re combining lots of decorative fixtures and want them to work together. For a standard bathroom, this guide plus an electrician is usually enough.
Lighting Design Ideas 13
Maintenance and Long-Term Ownership
Bathroom lighting lasts longer than most people expect and fails in less obvious ways. Usually it’s the driver or the dimmer, not the LED chip.
| Task | Frequency | Difficulty | Notes |
|---|---|---|---|
| Wipe fixtures, shades, lighted mirror | Monthly | Easy | Microfiber; check the maker’s guidance for coatings |
| Clean diffusers and glass shades | Quarterly | Easy | Dust and steam residue dim output |
| Test GFCI (US/CA) or RCD (UK/AU) | Monthly to quarterly | Easy | Call an electrician if it won’t trip or reset |
| Inspect caulk and trims around recessed and shower lights | Twice a year | Easy–medium | Stops moisture creeping behind trims |
| Descale fixtures in hard water | As needed | Easy | Non-abrasive; avoid harsh acids on lacquered or PVD finishes |
| Check the exhaust fan and vent | Every 6 months | Easy–medium | Poor ventilation shortens the life of finishes and electronics |
| Check dimmers for flicker, buzz or heat | Annually | Medium | Match the dimmer to the LED driver and minimum load |
| Replace lamps or modules | Per rated life | Easy–medium | Heat and humidity can shorten driver life |
.webp)
Lighting Design Ideas 14
Troubleshooting
| Symptom | Likely cause | What to try | Call an electrician if |
|---|---|---|---|
| Flicker when dimmed | Dimmer and driver mismatch | Use an LED-rated dimmer matched to the load | Flicker persists or fixtures feel hot |
| Buzzing | Incompatible dimmer or failing driver | Swap the dimmer type | Buzzing comes from the switch box |
| Light slowly dimming | Dust, steam residue, aging driver | Clean the diffuser; replace the lamp | Several fixtures dim at once |
| Yellowing or uneven color | Mixed Kelvin or aging lamps | Replace with matching lamps | — |
| Fogged mirror light | Failed anti-fog pad or seal | Check the warranty | Water reaches wiring |
| GFCI or RCD keeps tripping | Moisture in a fixture or wiring | Turn off the affected circuit | Always |
Does This Plan Work for Your Bathroom?
- Under about 25 sq ft? Two sconces on a dimmer is plenty.
- No window? Plan for the upper end of the lumen range, with CRI 90+ and possibly tunable white.
- Dark tile, paint or vanity? Add lumens, and avoid polished surfaces that glare.
- Double vanity? Give each basin its own light, and add a ceiling layer.
- Ceiling under about 8 ft? Use slim or low-profile fixtures. Avoid hanging lights.
- Kids, older adults or frequent night use? Add a low, warm, motion-activated light on its own circuit.
- Renting or not touching wiring? Swap in high-CRI LED lamps, add a battery-powered motion night light rated for damp areas, and skip extension cords.
- Selling within two years? Symmetrical paired sconces, 3000K, clean finishes and working dimmers are a safe bet.
Resale, Trends and What Ages Well
No reliable data ties a specific bathroom fixture to a higher sale price. What buyers do notice is dim, yellowed, builder-grade lighting, and anything that looks dated or badly maintained.
A few patterns tend to age well:
- Symmetrical, well-placed sconces
- Warm, consistent color temperature
- Working dimmers
- Simple finishes that match the hardware
Some trends carry more risk: cage lights, exposed-bulb bars, oversized statement fixtures, and very cool “daylight” bulbs. The layout is worth getting right, because it’s expensive to change. The decorative fixtures are the part you can swap in an afternoon.
.webp "Lighting Design Ideas 15")
Fixtures and Specs to Look For
Before you fall for a fixture, check the spec sheet:
- Lumens per lamp and per fixture
- Color temperature (Kelvin)
- CRI, ideally 90+
- Location rating: damp or wet in the US and Canada, IP rating in the UK and Australia
- Dimming compatibility with your dimmer type
- Replaceable lamps or driver, and a real warranty
- Certification marks for your country (UL/ETL, cUL/CSA, UKCA/CE, RCM)
- For recessed lights: IC and airtight ratings, and beam angle
- Finish: PVD or brushed finishes tend to be more forgiving in humidity and hard water
Upgrade categories
- Budget: LED wafer downlights, simple sconces or bars, basic dimmers.
- Mid-range: better diffusers, high-CRI lamps, smart dimmers, motion night lights.
- Premium: front-lit or anti-fog LED mirrors with published specs, multi-zone controls, tunable white.
Tools that earn their place
- A non-contact voltage tester, for safety
- A phone lux-meter app, useful for comparing rooms even though it’s not lab-accurate
- Sample bulbs, to test color before committing
Frequently Asked Questions
How many lights should a small bathroom have?
In a bathroom under about 40 sq ft (3.7 m²), plan for three to five light points: two vanity sconces or one bar over the mirror, one or two ceiling lights, and a damp- or wet-rated shower light if the enclosure is dark. A powder room can work with just two sconces on a dimmer. Count lumens rather than fixtures, and aim for roughly 70–80 lumens per square foot as a starting point.
How many recessed lights does a bathroom need?
A standard 5×8 ft bathroom typically needs two or three recessed lights for general lighting, plus a wet-rated one over the shower if it’s enclosed. A common starting point is spacing them roughly half the ceiling height apart, placed in front of the vanity rather than directly above it. Choose airtight, correctly rated housings and check lumen output rather than counting fixtures alone.
How many lumens does a bathroom need?
A commonly used planning benchmark is about 70–80 lumens per square foot (roughly 750–850 per m²) across the whole room. A 40 sq ft bathroom therefore needs about 2,800–3,200 lumens in total, with a large share at the vanity. Dark tile, dark paint or no window push you to the upper end. Treat it as a starting point, then adjust to how the room actually feels.
What color temperature and CRI are best for bathroom lighting?
For most homes, 2700K–3000K feels warm and flattering, while 3500K–4000K is crisper if you prefer a brighter look. Use the same Kelvin across every fixture so the room doesn’t look patchy. Choose CRI 90 or higher so skin tones and tile colors look accurate. Very cool light (5000K and up) often reads clinical in a home bathroom.
Can I put a chandelier or pendant light in a bathroom?
Sometimes, but not over the tub or shower. In the US, NEC 410.10(D) restricts hanging fixtures within about 3 ft horizontally and 8 ft vertically of the tub rim or shower threshold, and other countries apply similar zone rules. Pendants are generally fine away from the wet zone in a larger bathroom with adequate ceiling height. Check your local code and use a fixture with the right damp or wet rating.
Do I need a separate light in the shower?
If the shower is enclosed with glass or a curtain and your general lighting doesn’t reach it, yes. Any fixture in or directly above the spray zone must be rated for wet locations (US), or carry the required IP rating for the relevant zone (UK and Australia). Fixtures outside the spray zone can be damp-rated. Have an electrician confirm ratings and installation.
Are dimmers and separate switches worth it in a bathroom?
Yes. Separate control for vanity, ceiling, shower and night lighting lets you use bright light for grooming and soft light at night. Dimmers typically cost about $15–$150 each, plus installation. Use a dimmer rated for LED and compatible with your fixtures’ drivers, and check the minimum load, because mismatched dimmers cause flicker or buzzing.
Your Bathroom Lighting Checklist
- Light points planned by layer: task, ambient, accent, night
- Roughly 70–80 lumens per sq ft, adjusted for dark finishes and windows
- Vanity lighting at face height on both sides of the mirror
- One color temperature, CRI 90+ throughout
- Separate dimmers or switches for each zone
- Correct wet or damp rating for every fixture near water
- Recessed lights sealed and correctly rated
- A night route light for the toilet
- Electrician consulted for anything new, moved or in the wet zone
Lighting is one piece of a bigger picture. Tile, layout and overall style all change how your lighting plan works, so treat this as one step in your wider bathroom design and renovation planning.
.webp)
.webp)
.webp)
.webp)
.webp)